Setting up the WordPress Plugin involves just few a steps and should be done by a WordPress administrator.
Login to your WordPress account to get started.
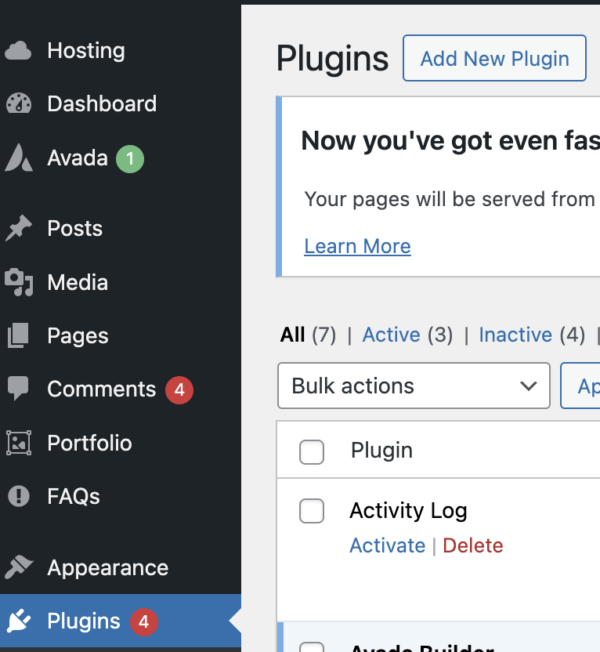
STEP 1: Install Your Plugin
Click on the Plugins link on the left WordPress menu.
Then click on the “Add New Plugin” button at the top.
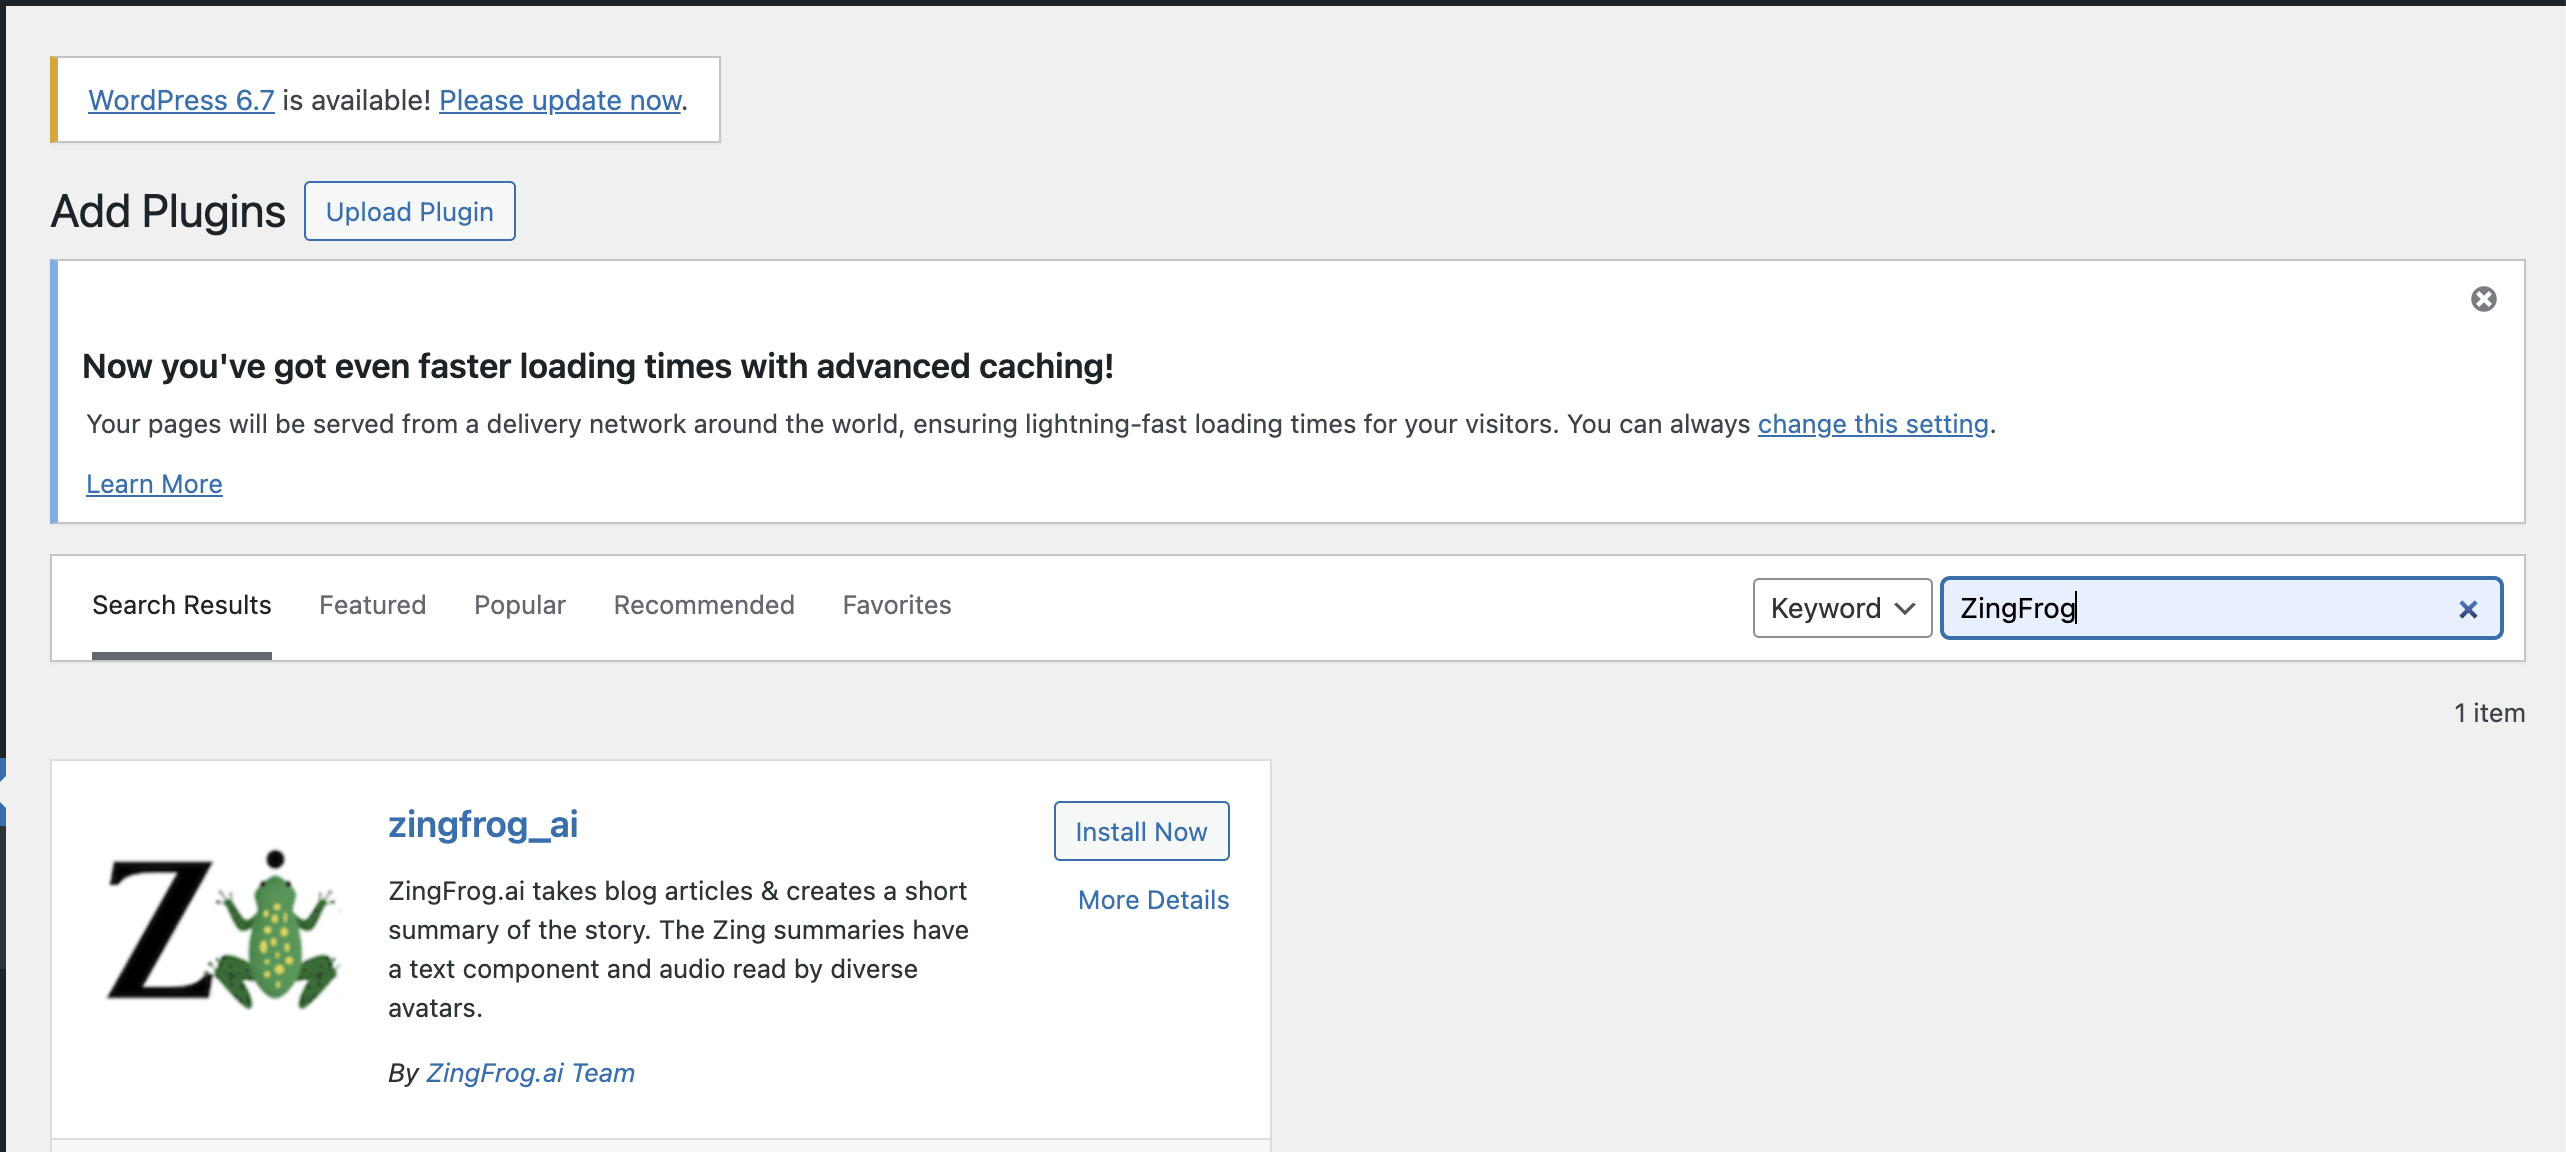
In the search bar, just put in "ZingFrog" and hit return. You will then see ZingFrog plugin. Install the PlugIn by clicking on the “Install Now” button.
STEP 2: Activate Your Plugin
After the install is finished, you can Activate the Plugin now…
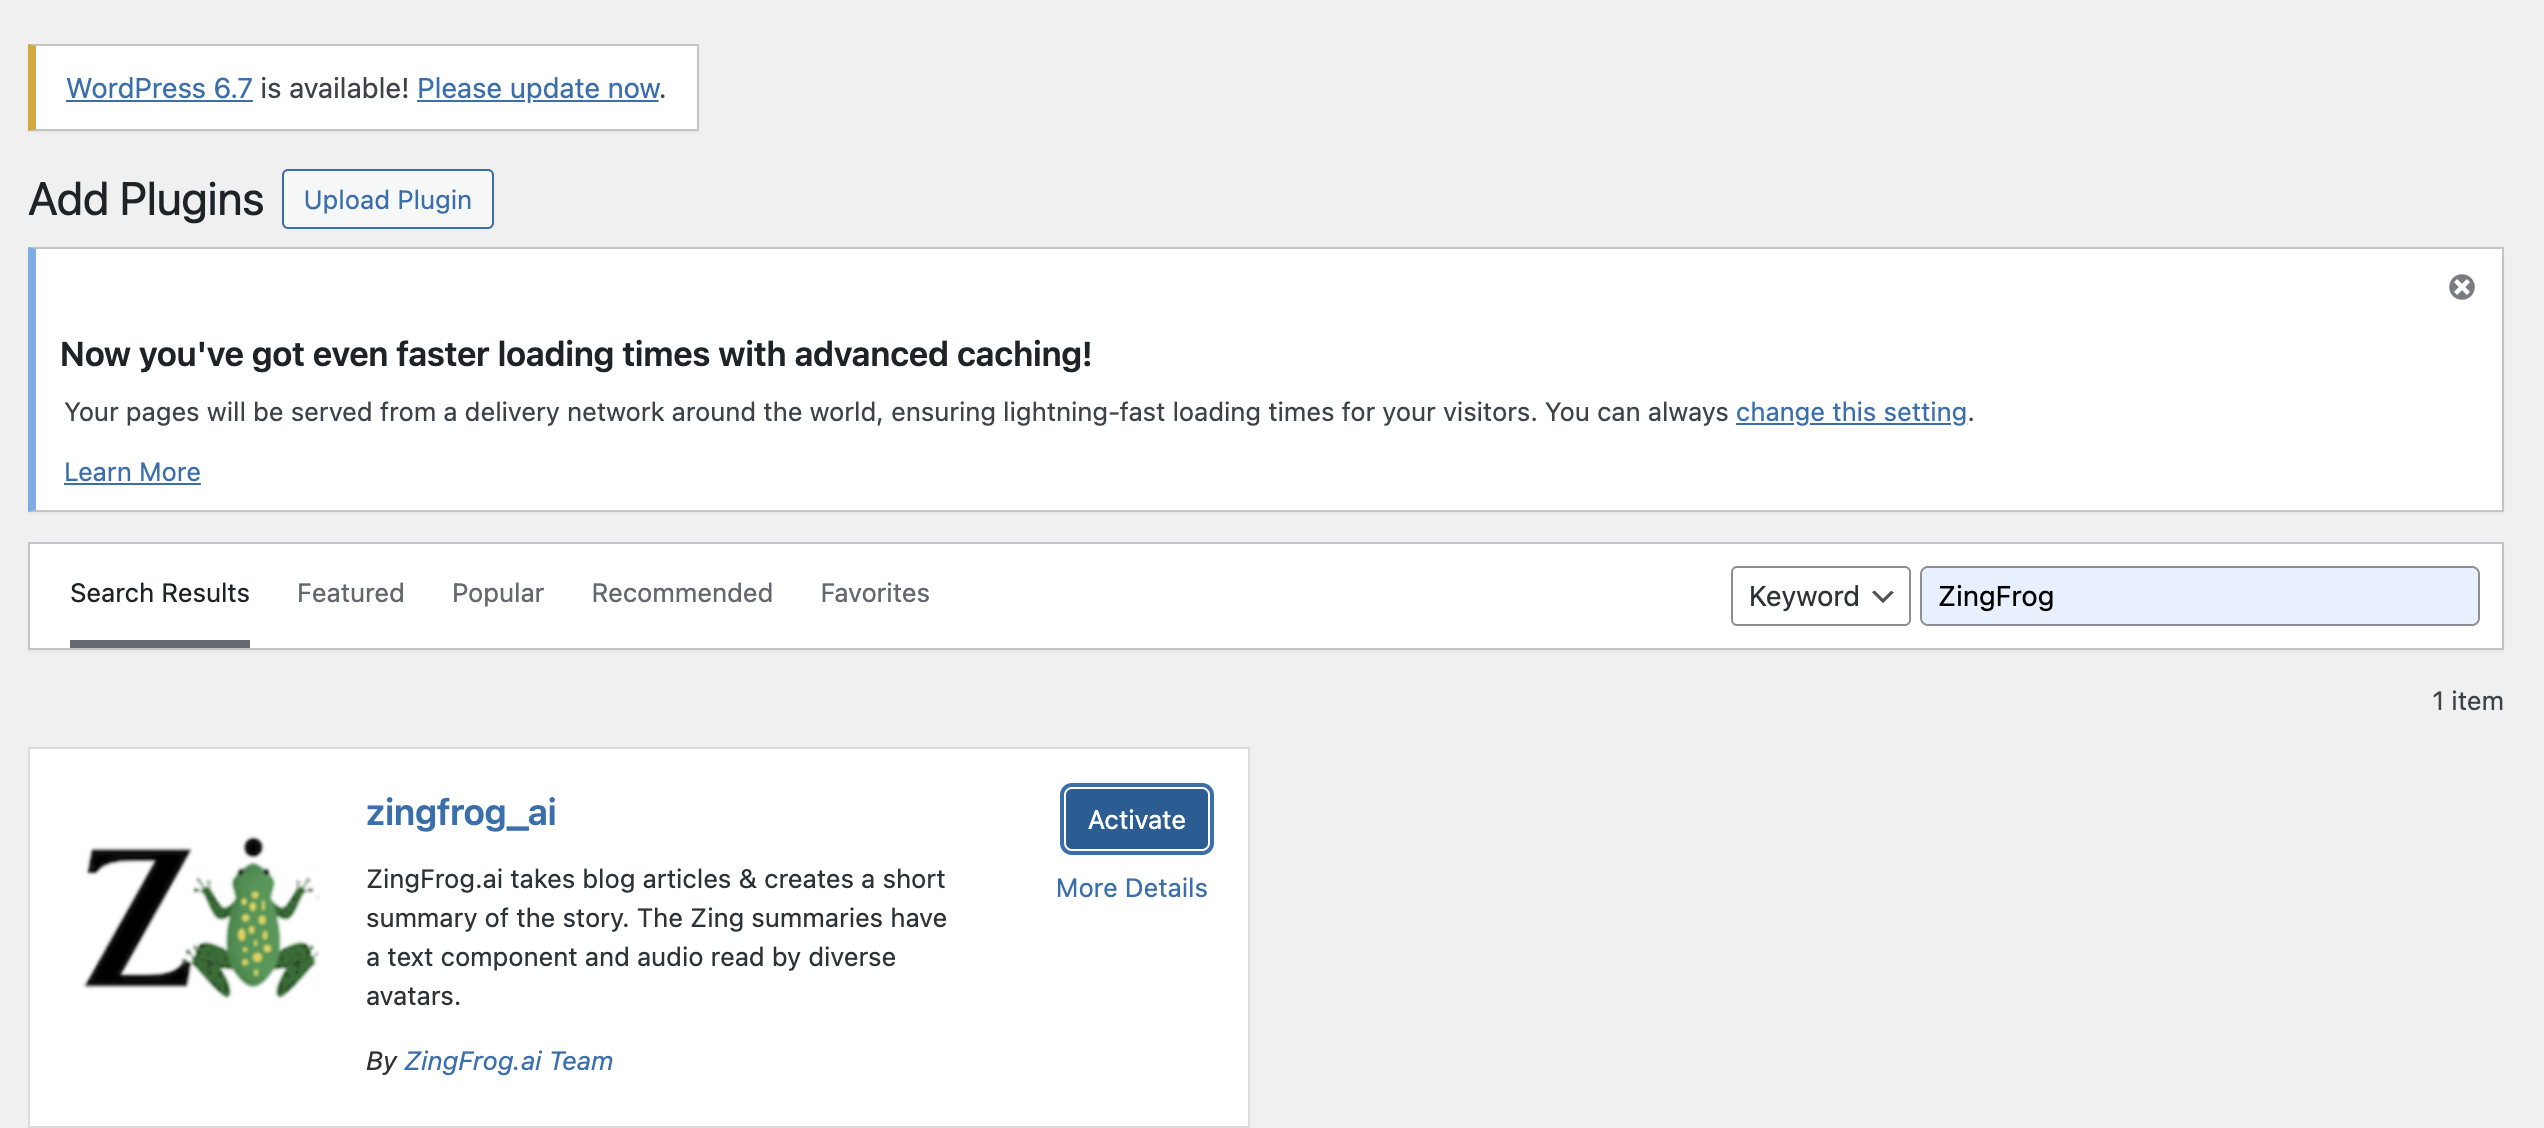
or later…
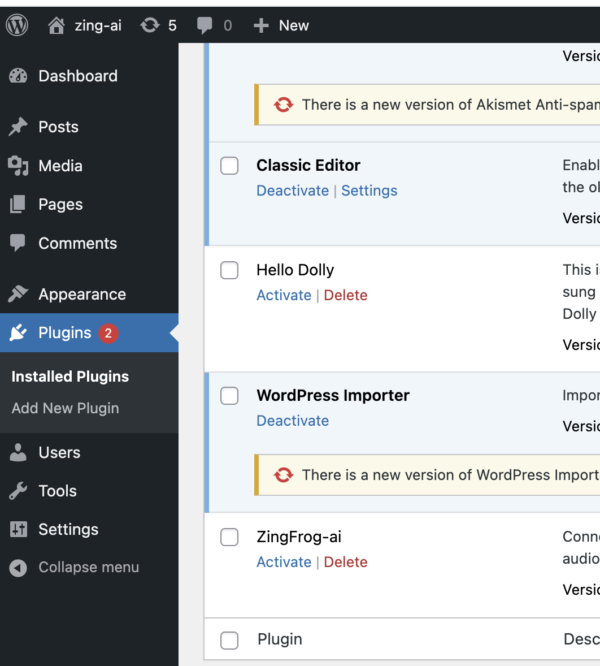
STEP 3: Confirm Plugin working
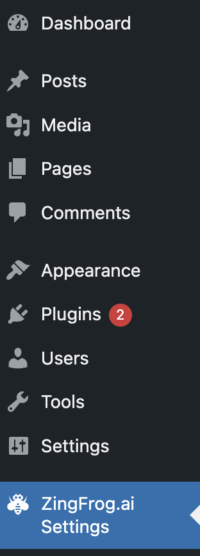
If your ZingFrog Plugin is activated, you will see a “ZingFrog.ai Settings” menu on the left, towards the bottom.
That's it. Now you're ready to connect the plugin to ZingFrog!
NEXT STEP: Connect the WordPress Plugin to ZingFrog