Website Zing Automations is one of the most powerful features of the ZingFrog system. Once it is setup, ZingFrog automatically looks for new posts on your Website and generates a Zing for them using the rules you setup. When the automations are running, there is nothing left for you to setup!
The automations requires that you have installed the WordPress plugin. It also requires that you create at least one Casting Call group of avatars.
NOTE: - The automations are currently running every few hours, so please note that when waiting for Zings to appear. If you can't wait to Zing your article, you can still use the Zing Director.
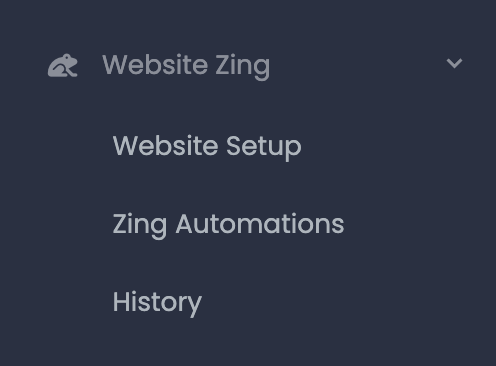
After your WordPress plugin is setup, "Zing Automations" will show up on your left menu towards the bottom. Click on this to start setting up your automations.
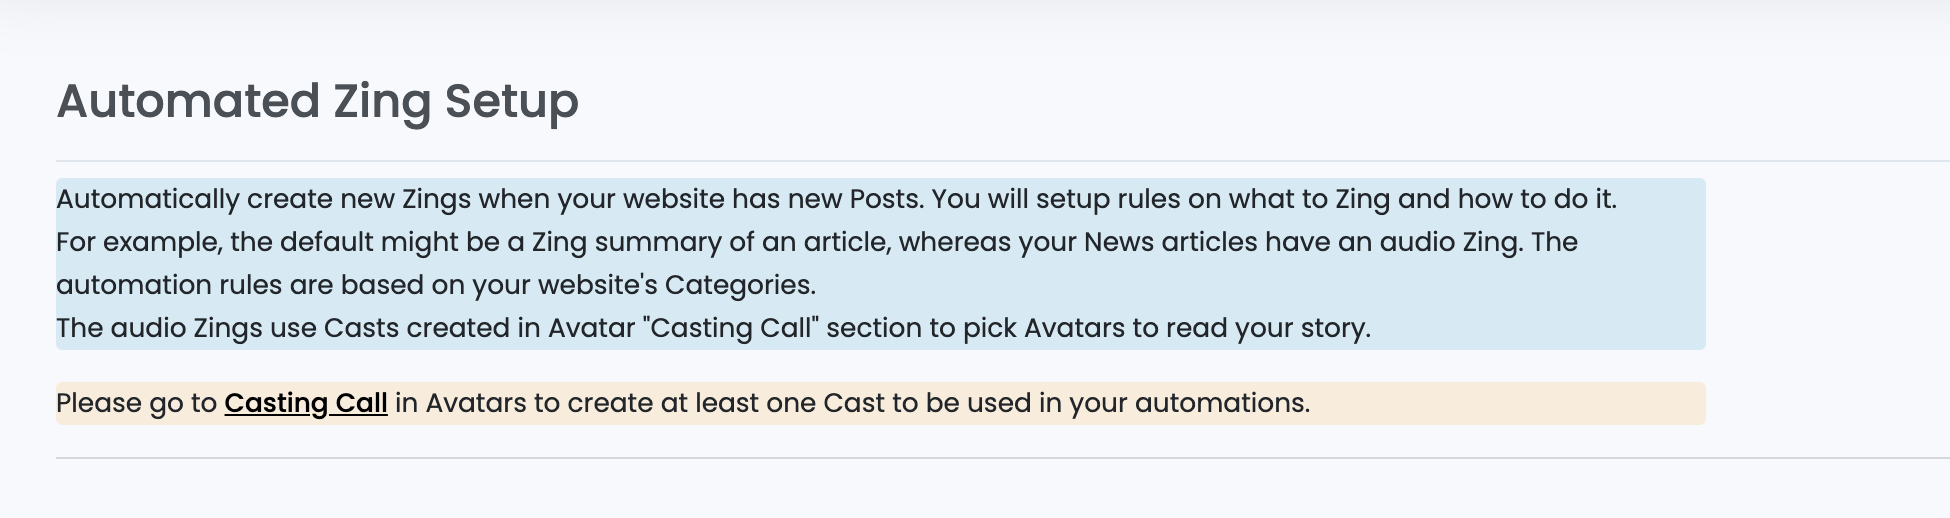
if you have not setup at least one Casting Call group of avatars you will see this message at the bottom of the setup screen. Go back to Casting Call and create at least one Cast.
When you go back to this screen after a Cast is created you will see a checkbox to "Setup Automated Zings". Check it and hit Save to go to the next step.

Your Automation screen will now look something like this:
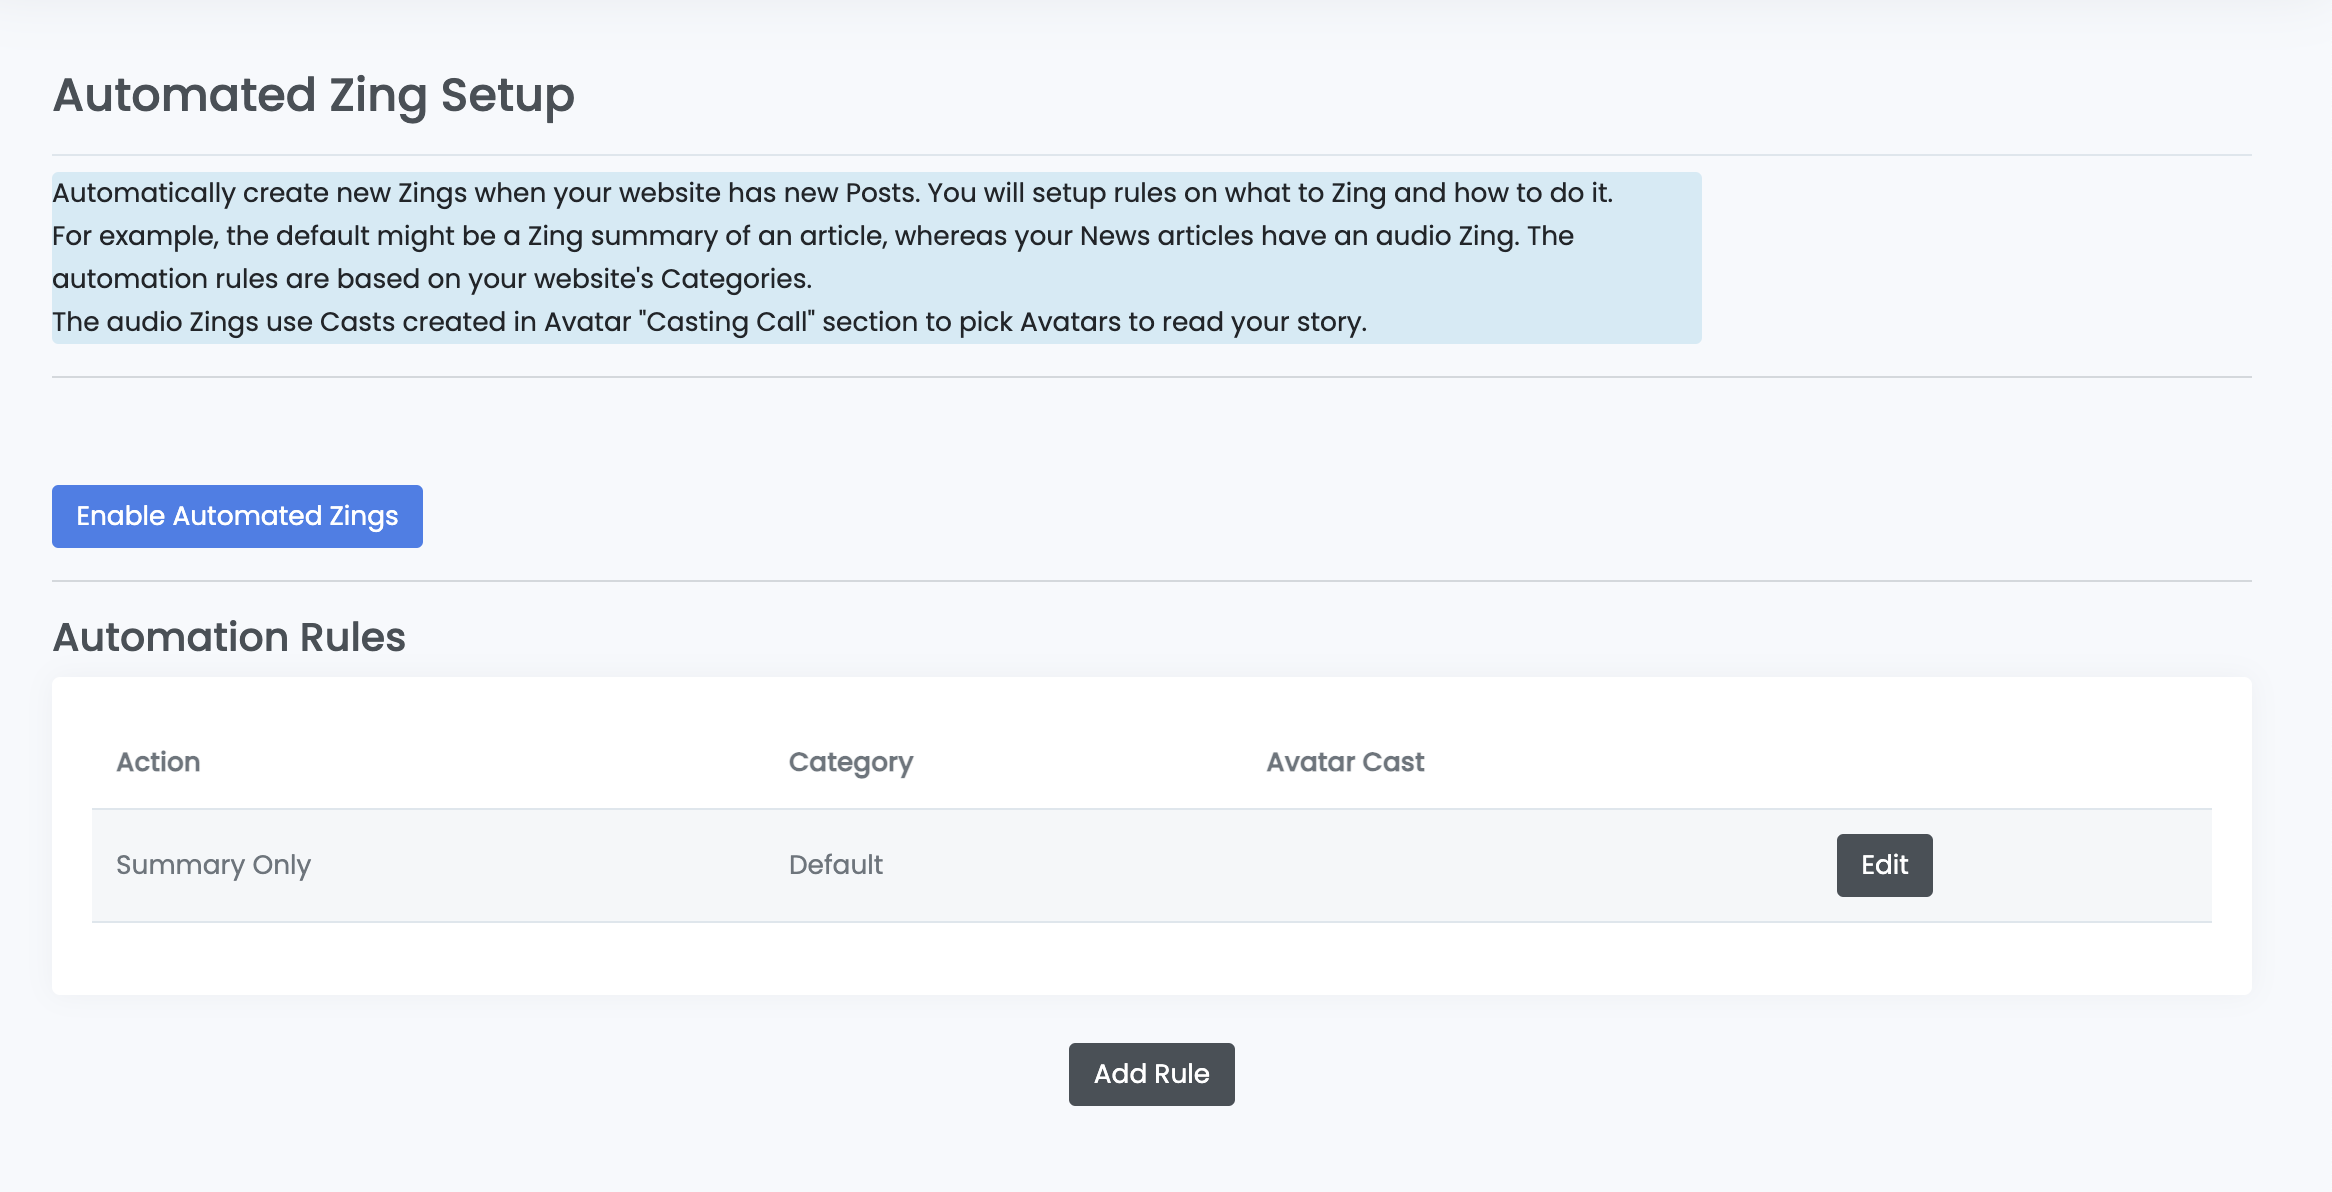
A couple of things to note here:
- One default rule is created - namely a Summary Only Zing will be created for all new articles posted. However, you can change this default rule plus add other sections. The article Managing Rules for your Website Zing Automations explains how rules work.
- You can start the automations at this point simply by clicking on "Enable Automated Zings"
However, you may want to review these other articles and steps before enabling your Zing automations: