Now that your ZingFrog WordPress plugin is setup, the next step is to connect the plugin to ZingFrog so we can update your posts for you.
STEP 1: Setup Application Password Authentication
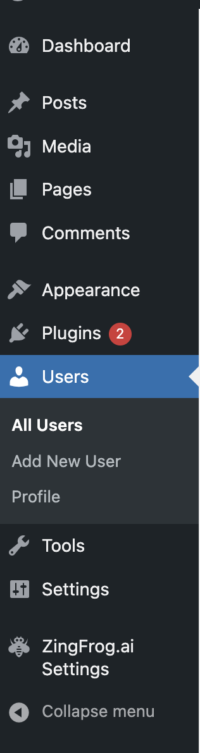
This is the key step in the process and you will need to have access to and click on the Users link on the WordPress menu.
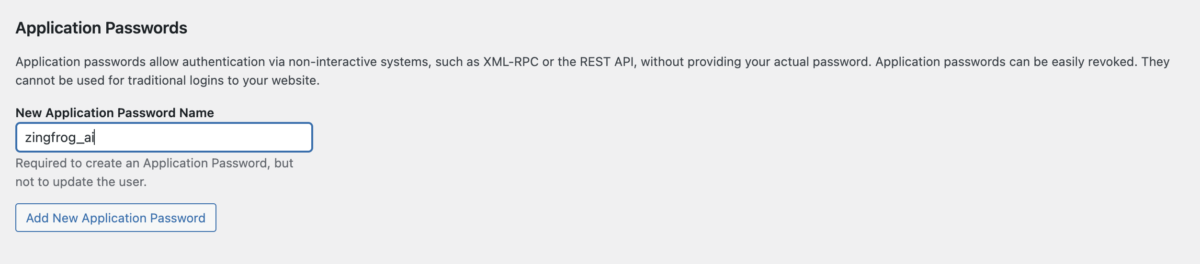
Pick a user, preferably one with high access. Scroll down to the second half of the page and you will see an area where you can create a New Application Password name. Give it something easy to remember like “ZingFrog.ai”. The click on “Add New Application Password”.
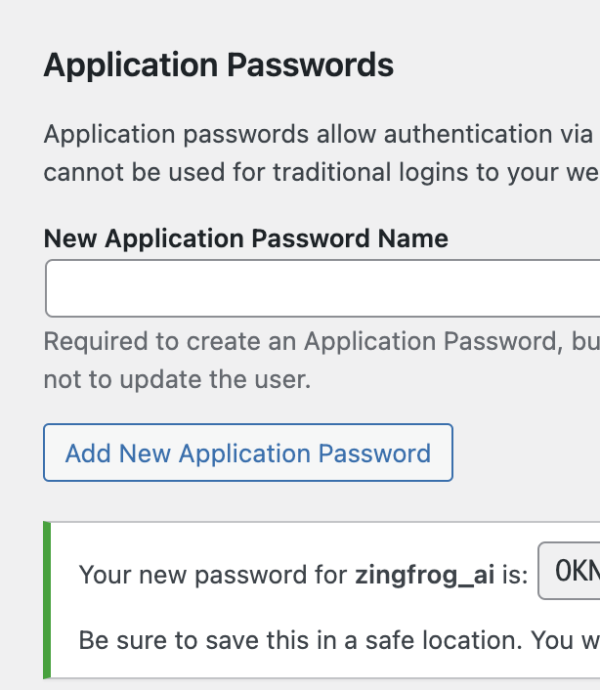
After you click on “Add New Application Password” you will see a “new password” for your name. Store that password somewhere safe as you will be using it shortly.
STEP 2: Setup Credentials in ZingFrog
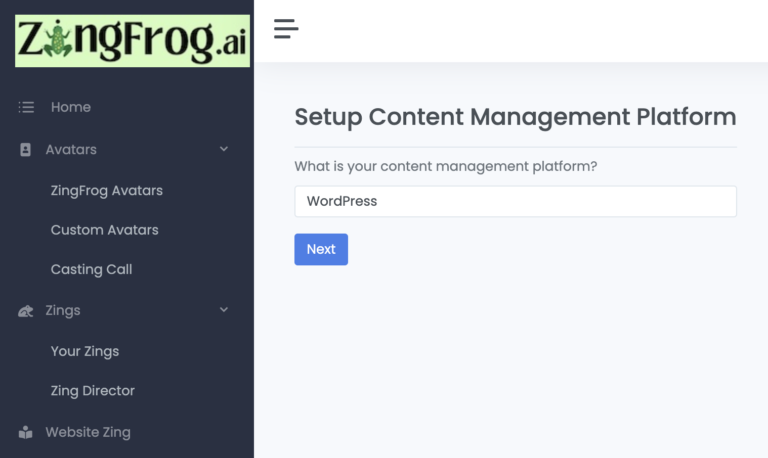
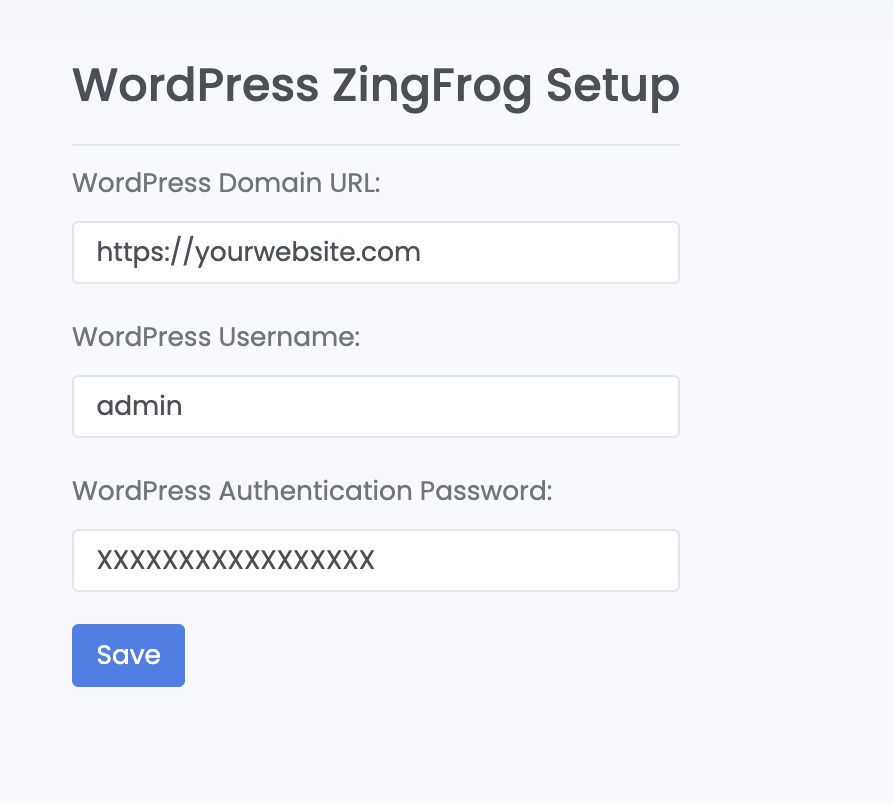
Now go back to your ZingFrog screen to finish the process. Click on “Website Zing” on the bottom left menu. The ensuing screen will default to WordPress. Click on the “Next” button.
Put the WordPress credentials (User / Application Password) into the next screen. Enter the domain name as in the example photo.
STEP 3: Validate Credentials
Almost there! Click on the “Validate WordPress Setup” button to confirm your credentials match what you entered in Step 5. If there is an error, please make sure everything matches.

The last step connects the ZingFrog application with your WordPress account and assumes you have installed the plugin on your WordPress site. Just click on the “Setup Plugin” button. This steps also brings in your top-level WordPress categories for use with the automated Zings.

You are now ready to publish your Zings directly to your WordPress website!